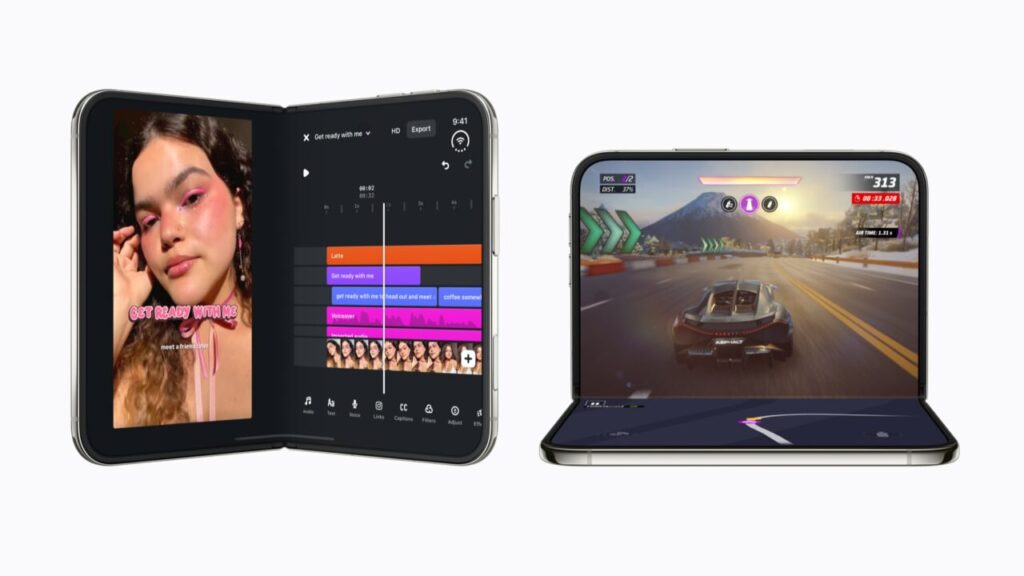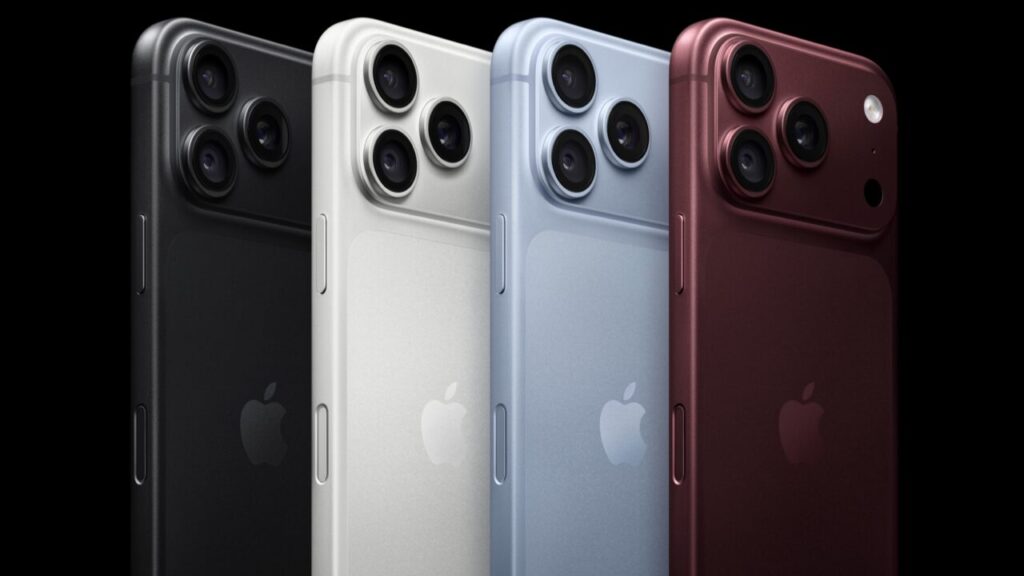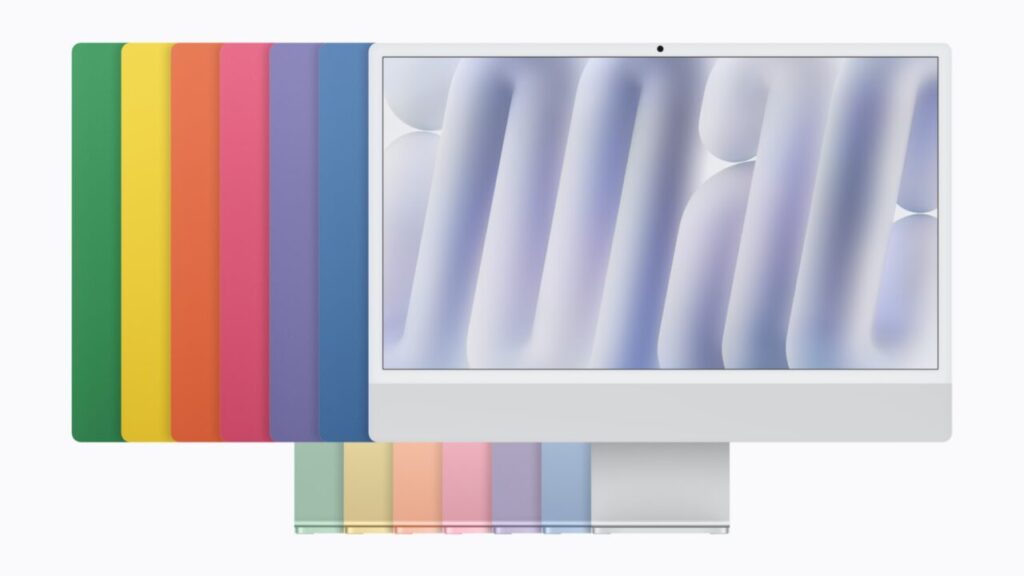
This Friday, the MacBook Pro with M6, the MacBook Pro with the PROLED XDR display, and the iMac with M6 hit stores. If you’re getting a new Mac, the first thing you’ll wonder is how to bring over everything you had on the old one without losing your mind. The answer is Migration Assistant, a tool built into macOS that copies your apps, files, user accounts, and settings. It works from another Mac and also from a Windows PC. Here’s how to use it, step by step.
Before you start
- Update macOS on both Macs. They don’t need to be on the same version, but the more recent, the fewer problems.
- Turn on Wi-Fi on both and keep them close together. If the old Mac is running OS X El Capitan or earlier, also connect them to the same Wi-Fi network.
- Turn off antivirus software, firewalls, or VPNs on both computers until the transfer is done.
- Be patient. With a lot of data it can take hours, and sometimes it looks like it’s stuck. That’s normal; don’t cancel it.
A reassuring detail: Migration Assistant doesn’t delete anything from the old computer and doesn’t touch the new one’s system. It only copies.
From one Mac to another, step by step
1. On the new Mac
- If you’re turning it on for the first time, the setup assistant itself offers to transfer your data: just follow it, no need to open anything else.
- If you’ve already set it up, open Migration Assistant from Applications > Utilities or find it with Spotlight, and enter your administrator password if asked.
- Choose the option to transfer from a Mac, Time Machine backup, or startup disk and click Continue.
2. On the old Mac
- Open Migration Assistant there too and click Continue.
- Choose the option to transfer to another Mac.
3. Connect the two
On the new Mac, select the old Mac’s icon. A security code will appear on the old one: make sure it matches the one you see on the new Mac and continue.
4. Choose what to transfer
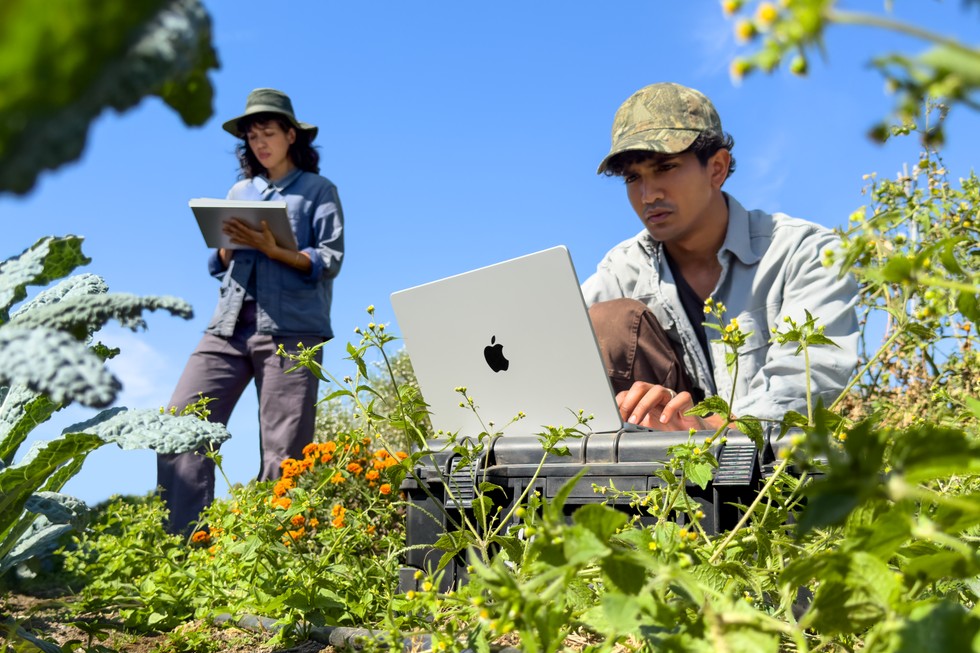
The new Mac will calculate how much space your apps, user accounts, files, and settings take up. Check the categories you want; if you expand each one with the disclosure arrow, you can pick specific items. My advice: if your old Mac is carrying years of apps you no longer use, this is a good time to leave them behind.
5. User accounts
- Administrator account: click to set a password and create one. Write it down, because it’s the one you’ll use to log in to the new Mac.
- Standard account: the assistant assigns a temporary password that appears on screen. Write it down; when that user logs in for the first time, they’ll have to create a new one.
- If an account with the same name already exists on the new Mac, you can replace it with the old one (its data may end up in the Deleted Users folder) or rename the old one to keep both.
6. Wait and finish
When it’s done, quit Migration Assistant on both Macs and log in to your account on the new one. You may need to set up your email account in the Mail app again, even though your messages were copied.
From a Windows PC
If you’re switching from Windows to Mac, you can use it too, but you need to install Windows Migration Assistant on the PC, a free download from Apple’s support website. For macOS 27, Tahoe 26, Sequoia 15, and Sonoma 14, the current version is 3.2.0.0, which requires Windows 10 or later.
- Update Windows, close all apps, and temporarily turn off your antivirus, firewall, or VPN.
- Keep the PC and the Mac close together, with Wi-Fi and Bluetooth turned on. If the PC doesn’t have Bluetooth Low Energy, you’ll need a USB Bluetooth adapter.
- On the Mac, open Migration Assistant and choose from a Windows PC. A code will appear.
- On the PC, open Windows Migration Assistant, follow the steps, and enter that code.
- Choose what to transfer and set up account passwords the same way as between two Macs.
What transfers from Windows? Email and contacts from Outlook and Windows Mail, your calendar, bookmarks from Chrome, Edge, or Firefox (which go to Safari), your music and videos, the documents in your user folder, your wallpaper, your language, and even known Wi-Fi networks on macOS 13 or later. Photos are copied to your home folder, and then you import them into the Photos app yourself.

If something goes wrong
- Make sure you have the right version of Windows Migration Assistant for your Mac’s macOS.
- On the PC, run a disk check with the
chkdskcommand from the Command Prompt and fix any errors it finds. - If it still doesn’t work, you always have plan B: copy your important files with an external drive.
Migrate or start fresh?
It’s the eternal question. Migrating is the most convenient option: in a few hours, your new Mac is exactly like the old one. But you also bring along years of accumulated clutter. If your old Mac was slow or full of apps you no longer use, I’d consider starting fresh and moving over only what matters; with iCloud, a lot of your photos, documents, passwords, and settings sync on their own. If everything was working fine, migrate without worry and enjoy your new Mac from minute one.
And when you’re done, don’t forget about the old Mac: before you sell it or give it away, you need to prepare it properly. Here’s what to do before you sell or give away your iPhone or Mac.
Sources: Apple Support: Migration Assistant between Macs, Apple Support: Transfer from a PC to a Mac with Migration Assistant, Macworld.